How to Photograph the Milky Way
Over the last year I’ve had several friends ask me how to photograph the Milky Way and I’ve decided it’s time put together a simple outline to get an exciting photo on the first try!
- Don’t worry about trying to get a grand photo on the first try. As with all things it takes time and practice. Go out and just get that first image of the Milky Way and be ready for the excitement when you see it on the back of your camera’s display.
- Figure out where the Milky Way is located, when it’s visible, and when there will be a new moon. Since it’s your first time trying to shoot the Milky Way, go out on a weekend or weekday closest to the most recent New Moon. This will minimize the amount of light in the sky and give you a better photo. To find out when the Milky Way is visible in your part of the world I recommend reading this article titled “When is Milky Way Season.” Also, make sure the sky is free or mostly free of clouds.
- Find a dark sky. Depending on where you live, this can be easy or hard, but regardless, I say go out and give it a shot. The darker the sky, the better your results will be on the first try. To find dark skies, check out this website: DarkSiteFinder. Look for something nearby in a blue or green shaded region. Anything brighter than a yellow or orange shade on their map is not likely to produce a photo of the Milky Way.
- Use the right camera. I recommend using at least a DSLR. Even if it’s 10 year’s old you should be able to produce something with it. Regardless, you need a camera that allows you to have full control of the settings.
- Gather up your wide-angle lens. For your first photo of the Milky Way, you’re going to want to go as wide as possible. Going wide gives you a greater amount of the Milky Way in your photo and also allows you to shoot longer exposures with less star trailing. I personally shoot with a 14mm f/2.8 Rokinon lens.

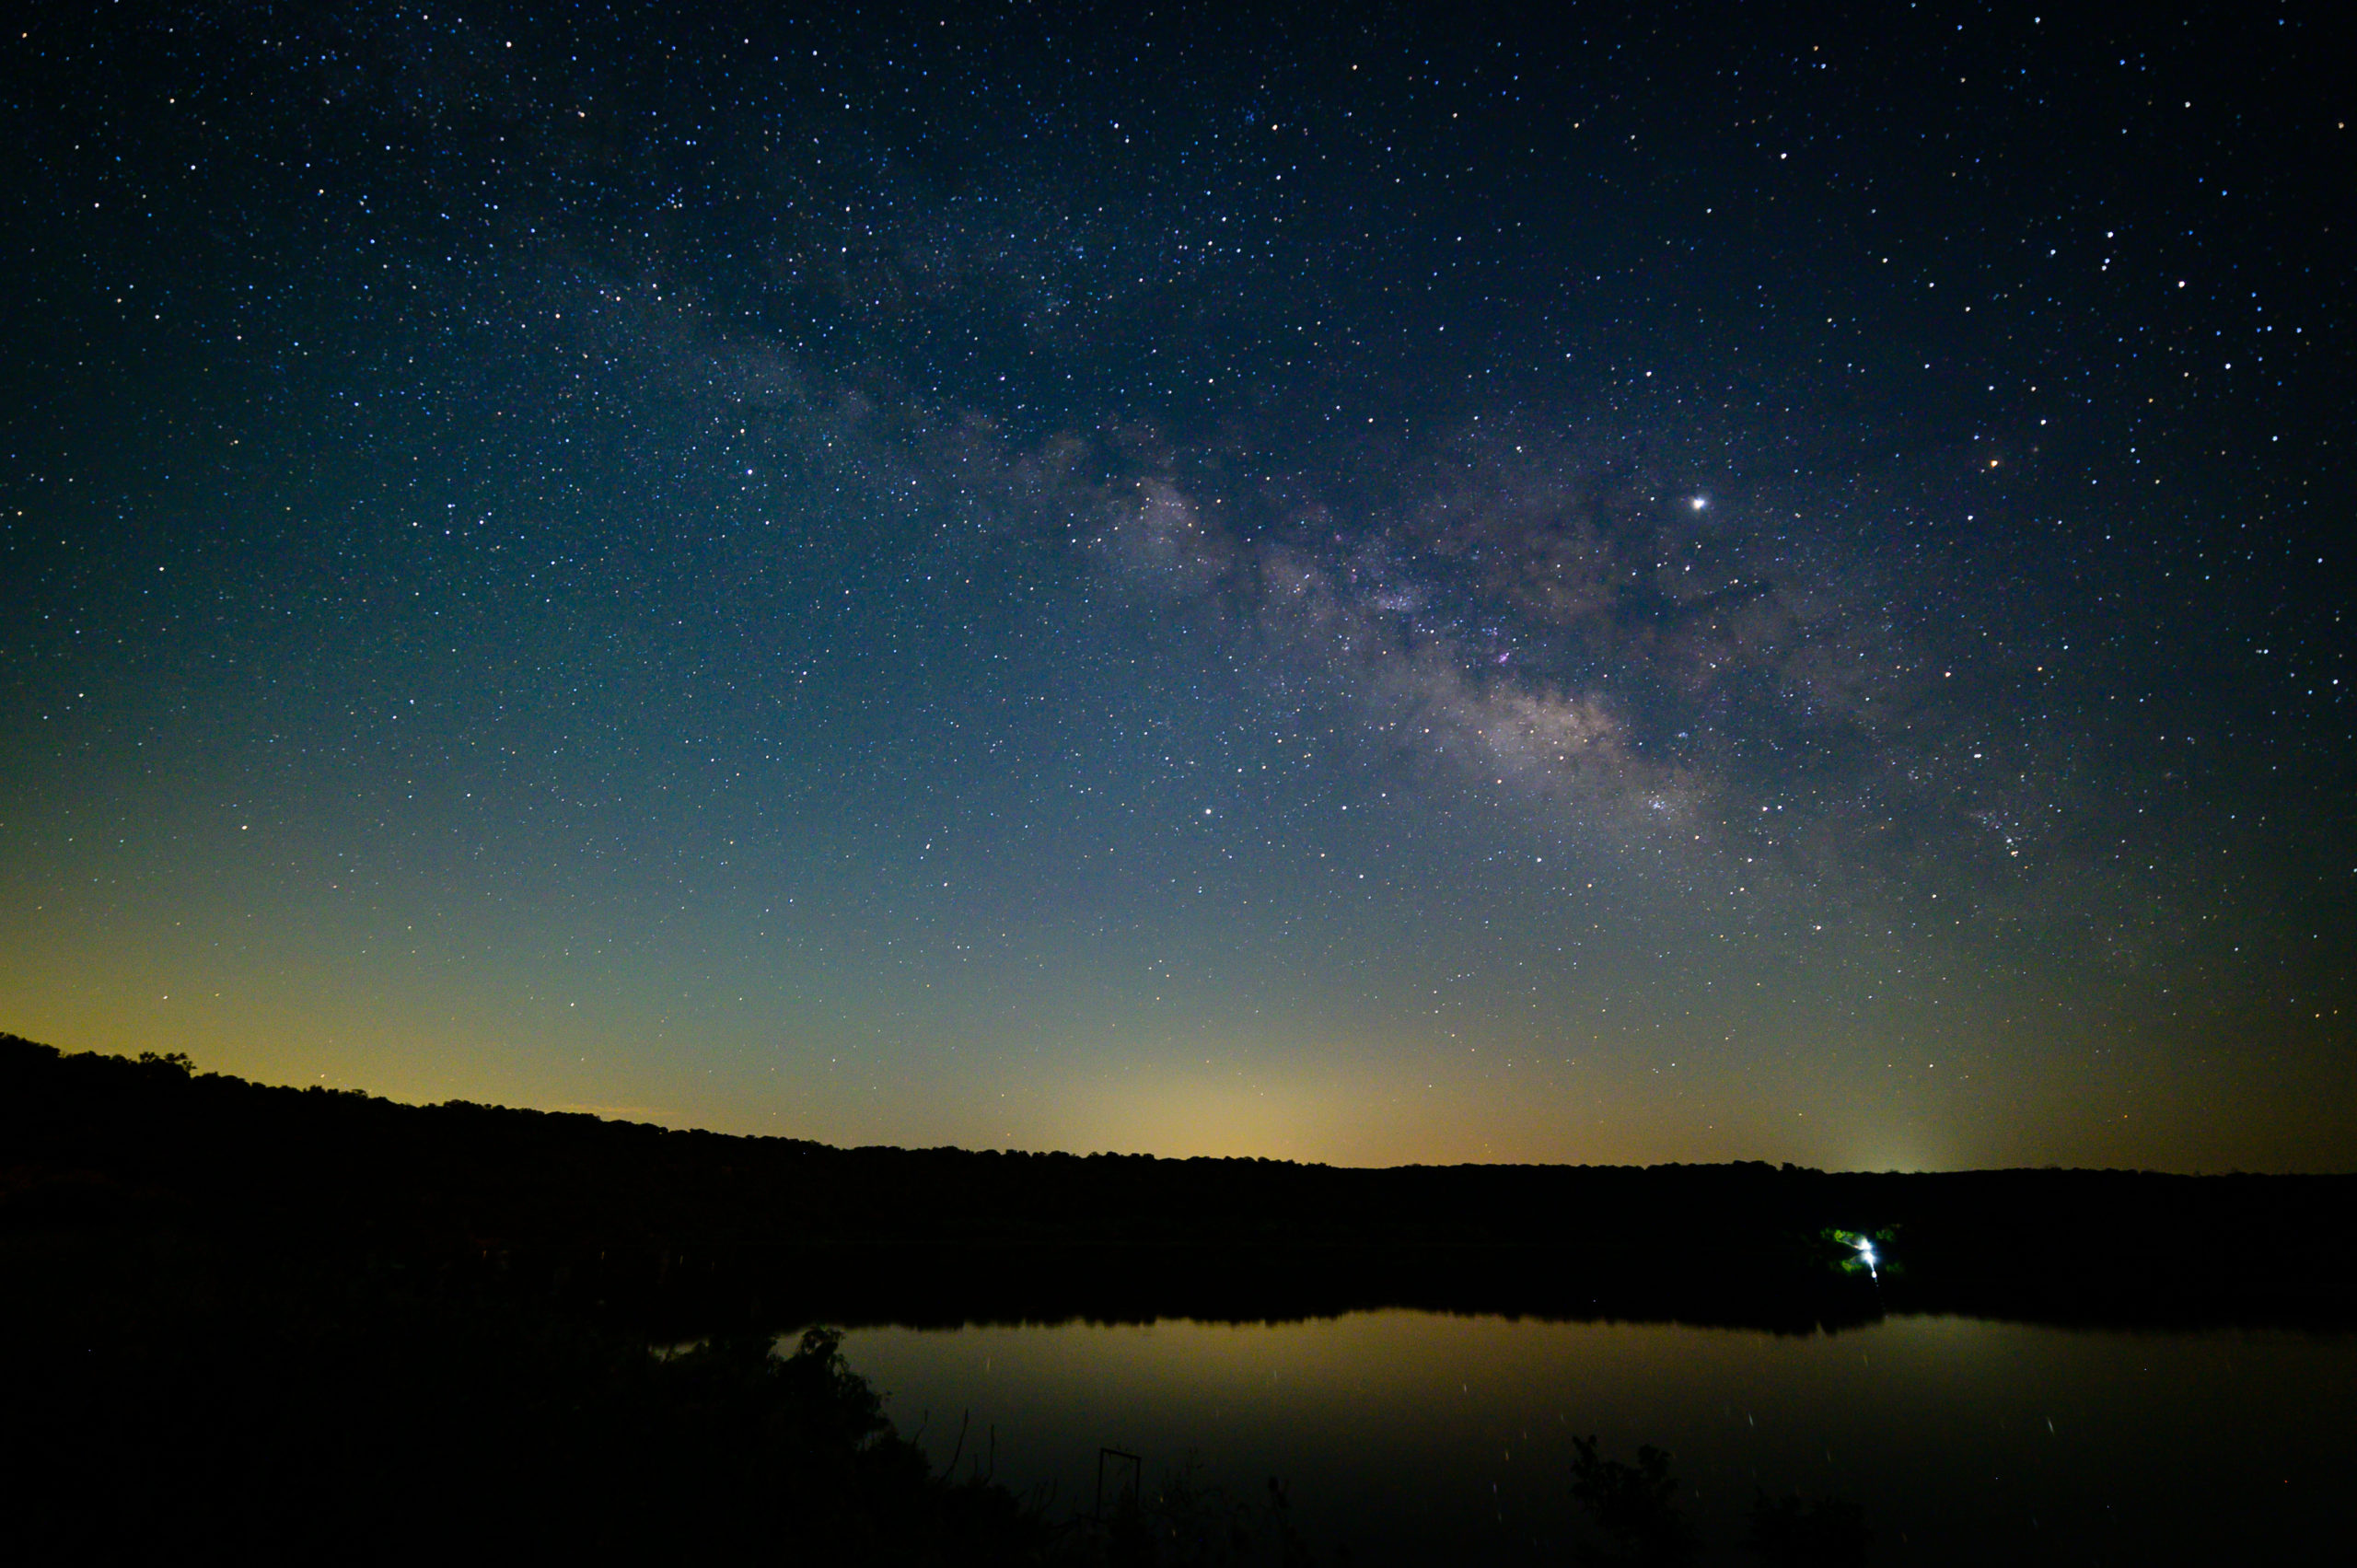
My First Photograph of the Milky Way with my Nikon Z6.
- Pack a tripod. I hate to say you have to have it, but you absolutely have to have it. I suppose there are times you could find something to set your camera on for a photo of the Milky Way, but that’s not something I would leave to chance. You will be taking a long exposure photo and your camera must remain perfectly still for your image of the Milky Way to come out.
- Shoot in RAW. If you don’t already shoot in RAW format, now’s the time to switch. Milky Way editing can sometimes take making drastic changes to your photo and shooting in RAW will give you more room for compensation when you get home to your computer.
- Set your White Balance. Not everyone will have the ability to set this specifically depending on their camera. I like to choose a setting somewhere around 3400K. If you don’t have that option, choose tungsten or fluorescent. If it’s too blue adjust from there, and since your shooting in RAW you can still easily make a change to this at home.
- Choose your Aperture. This one’s easy, go as large as possible. The larger your aperture, the more light you can get to the sensor. For my setup, I shoot at f/2.8.
- Calculate your Exposure. I can’t lie and say this part doesn’t get a little tricky. You actually have to think back to 3rd grade and use some math. Take the number of 500 and divide it by the focal length of your lens to get the amount of time you should expose your image. For example, if I’m using a 20mm lens, divide 500 by 20 to get a 25 second exposure. But there is an exception, only use the 500 value if using a full frame camera. If you’re using an APS-C sensor camera, you’ll want to use 330 divided by your focal length. So if you are shooting using a focal length of 33mm, you will want to set your exposure to 10 seconds. If math isn’t your friend, check out the tables below for some estimates that will work for you!


- Determine your ISO. Regardless of your camera, I’ll advocate for shooting at 3200 or 6400ISO. This will help you bring in plenty of light. Yes you will get noise, but trust me, it’ll be worth it!
- Setup your camera. You’re in the field and almost ready at this point. Get your camera setup and pointed in the correct direction. Don’t take your photo yet though!
- Adjust the focus of your camera. There are many techniques to doing this, I prefer to first put my camera in live mode on the rear LCD. Next Zoom in on a star in the sky and manually focus your lens until the star is as small and sharp of a point as possible. You are now in focus.
- Click the shutter button! If you have one, use a shutter release cable or timer to prevent any shake in your camera when you release the shutter.
That’s it! I know reading it sounds like a lot, but I promise as you get to know your camera and how it operates in low light it starts to just become natural. ‘ll eventually start posting about some more detailed techniques, but I think it’s important to start somewhere and first prove to yourself it can be done! I can’t wait to hear your comments below and find out how your first shots of the Milky Way went.
